Never Fail Pie Crust
A Little Personal History:
I’m no baker yet pie crusts are needed for all kinds of dishes and deserts. So, not wanting to struggle through, here’s my go to never fail way to make them
Description:
| Categories: | Pastries |
| Servings: | 1 double crusted pie |
| Time: | – Preparation: – Cooking: – Refrigeration: |
| Equipment: | Food processor, Pastry Scrapper, pastry board, rubber spatula, rolling pin, 9″ pie tin |
| Difficulty: | Medium |
Ingredients:
- 2 1/2 cups all purpose flour
- 1 teaspoon salt
- 2 Tablespoons sugar
- 3/4 cup (a stick and a half) unsalted butter, chilled, cut into 1/4 inch cubes
- 1/2 cup of all-vegetable shortening (no transfats)
- 6-8 Tablespoons ice water
Procedure:
- Mix flour, salt, and sugar in a food processor fitted with a steel blade. Scatter butter pieces over flour mixture. Toss with spatula to coat the butter with a little of the flour. Cut butter into the flour mixture with 5 one second pulses.
- Add shortening (a tablespoonful at a time, not one big hunk of shortening) and cut into mixture with about 4 more one second pulses. The mixture should resemble coarse cornmeal, with butter bits no bigger than peas. Turn mixture into a mixing bowl.
- Sprinkle 6 tablespoons of ice water over flour mixture. Using the blade of a rubber spatula, press down on the dough, using a folding motion, until the dough sticks together. Add up to 2 more tablespoons of ice water if the dough will not come together. Do not over-knead the dough!
- Divide the dough into 2 balls and flatten each into 4 inch wide disks. Dust the disks lightly with flour, wrap each in plastic, and refrigerate for at least 30 minutes or up to 2 days before rolling out.
Generic Instructions for adding dough to pie tin
- After the dough has chilled in the refrigerator for at least 30 minutes, you can take it out to roll. If it is too stiff, you may need to let it sit for 10 minutes at room temperature before rolling. Sprinkle a little flour on a flat work surface and the top half of one of the disks of dough. Using a rolling pin, apply light pressure while rolling outwards from the center. Every once in a while you may need to use a metal spatula or a pastry scraper to gently lift under the dough to make sure it is not sticking to the rolling surface. You have a big enough piece of dough when you place the pie tin or pie dish upside down on the dough and the dough extends by at least 2 inches all around.
- When the dough has reached the right size, gently fold it in half and then in half again. Lift up the dough and place the folded point of the dough in the exact center of your pie dish. Gently unfold. Lift the edge of the dough with one hand while easing the pastry along the bottom of the dish with the other hand. Do not stretch the dough.
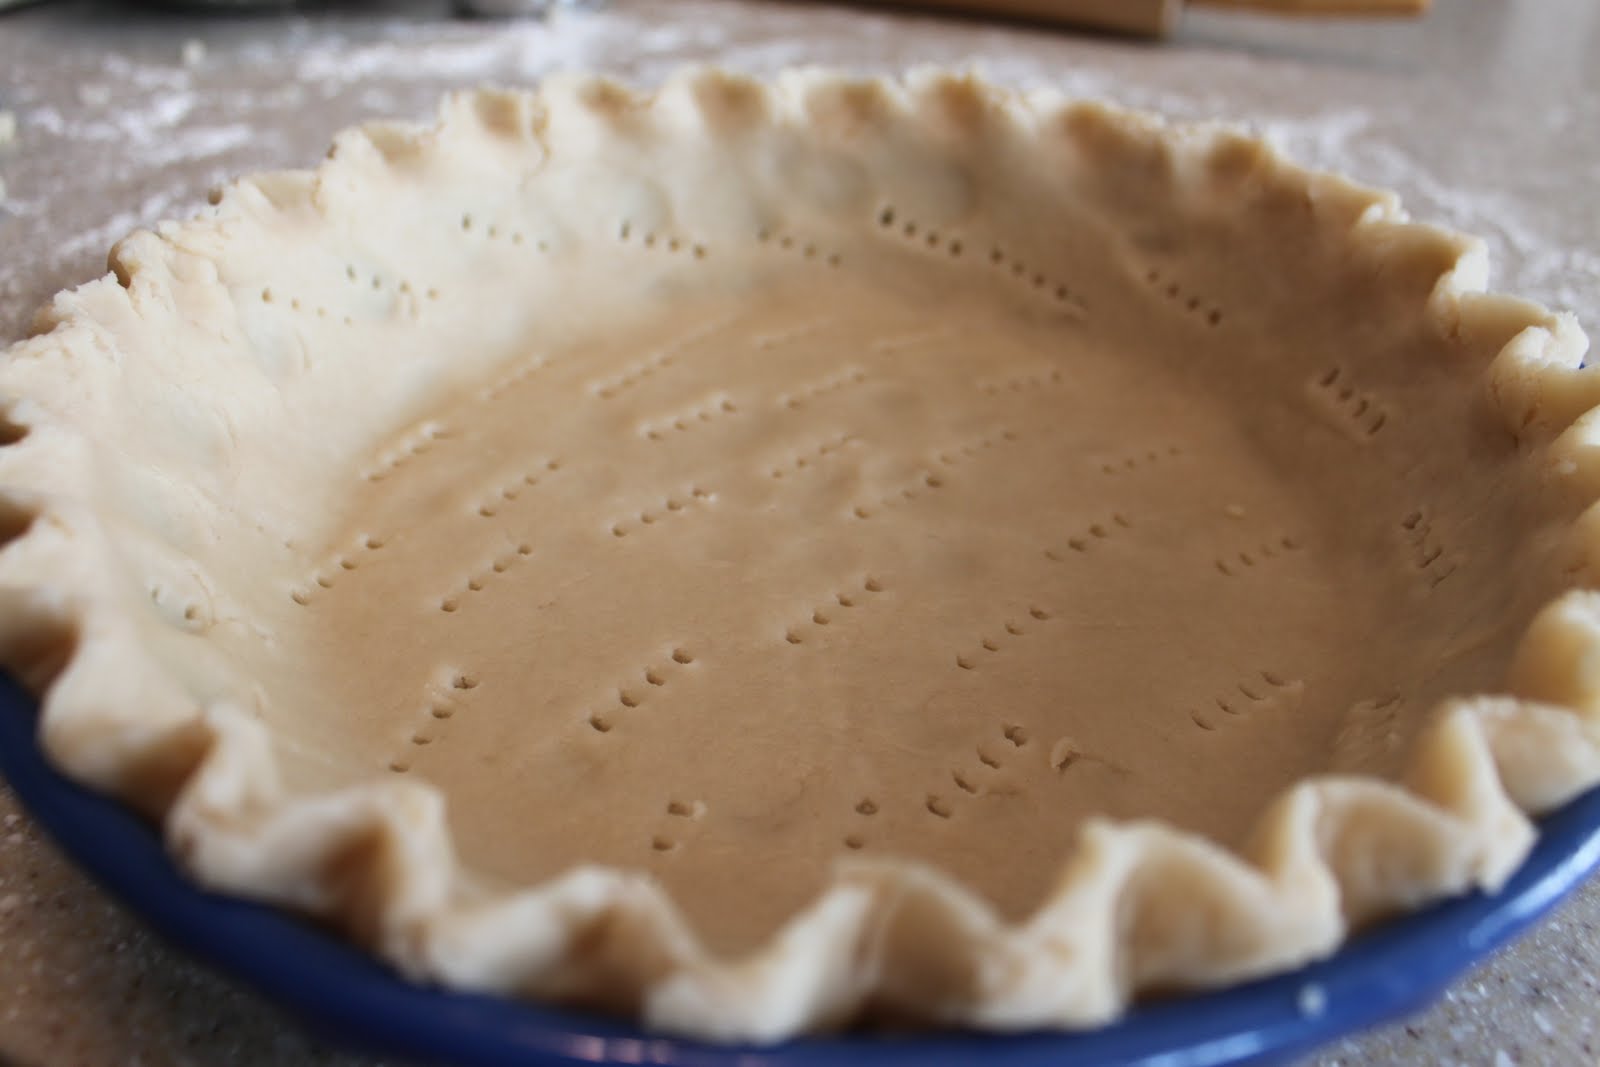
- a. If you are only making a single crust pie, use a pair of kitchen scissors to trim the dough to within 1/2 inch of the lip of the dish. Tuck the overhang underneath itself along the edge of the pie dish. Use the tines of a fork to crimp the edge of the pie crust.
- b. If you are making a double crust pie, roll out the second disk of dough. Use a pastry scraper to help gently roll the dough around the rolling pin. Unroll the dough from the rolling pin over the fruit-filled pie, centering the dough correctly on the pie. Use a kitchen scissors to trim the overhang to an inch over.
- Fold the edge of the top piece of dough over and under the edge of the bottom piece of dough, pressing together.
- Finish the double crust by pressing against the edges of the pie with your finger tips or with a fork.
- Use a sharp knife to cut vents into the top of the pie crust, so the steam has a place to escape while the pie is cooking. Optional Before scoring, you may want to paint the top of your crust with an egg wash (this will make a nice finish).
Advanced Preparation:
- Steps 1 – 4 can be done up to two days in advance, wrapped in plastic wrap and refrigerated until need. When ready to use, remove from refrigerator and bring to room temperature.
Tips, Notes, and Variations:
- If your new to making pie crust, you may want to try this “never fail” pie crust recipe
You must log in to post a comment.